Flashing ESPHome Firmware on ESP32 Microcontroller Linux workflow
You can use one of two tools to install the firmware on the microcontroller: Python or Docker.
Flashing a ESP32 device with esptool
Python 3.8.10 is already installed by defau lt in Ubuntu 20.04. Install Python or upgrade it to version 3.8.10 or higher if you don't have the proper version on your device.
To flash the board, the pip3 package manager should be installed. To accomplish this, use the following command to update the package list:
sudo apt update
After this, install the package manager:
sudo apt-get -y install python3-pip
Unzip the firmware file and navigate to the directory containing the archive's contents in the terminal.
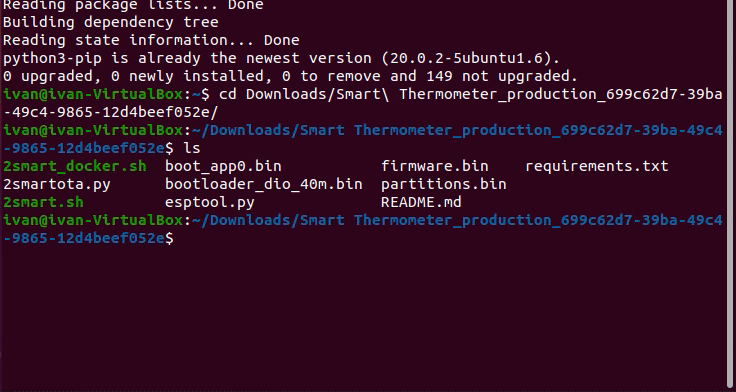
Connect the microcontroller to the PC utilizing a USB cable. Enter the following command and hit Tab:
/dev/ttyUSB0
Please note that you may be utilizing the ttyUSB1 port rather than the ttyUSB0 port, for example. Bear this in mind as you proceed through the current and next steps.
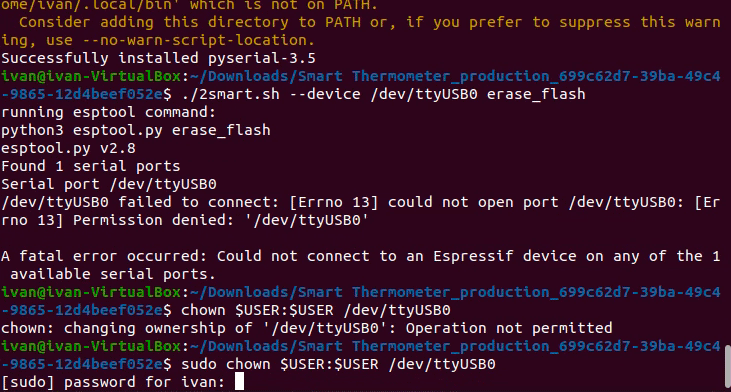
Set file permissions by running the following command:
sudo chown $USER:$USER /dev/ttyUSB0
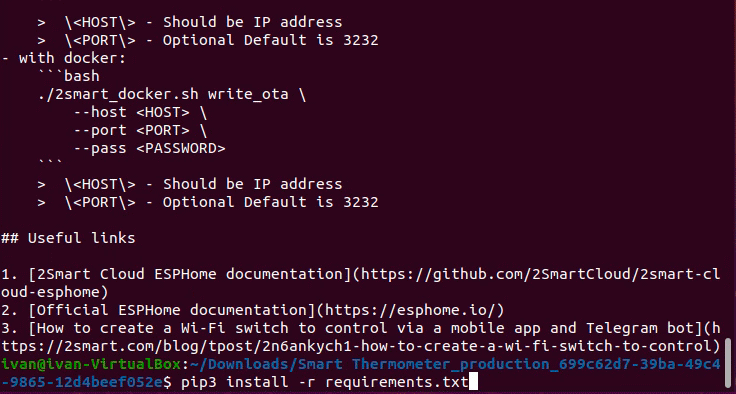
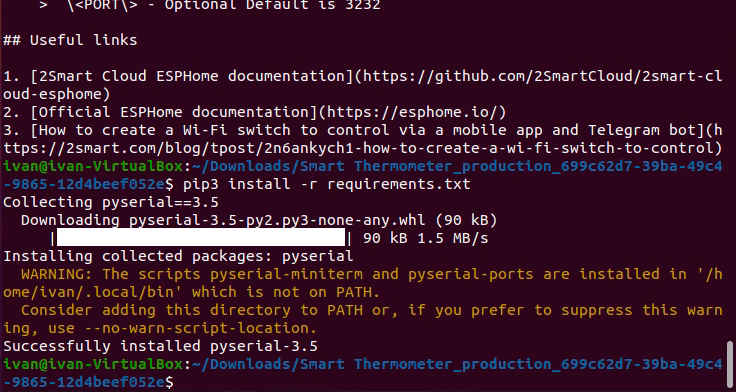
Install the necessary libraries to work with the “2smart.sh” script using the following command:
pip3 install -r requirements.txt
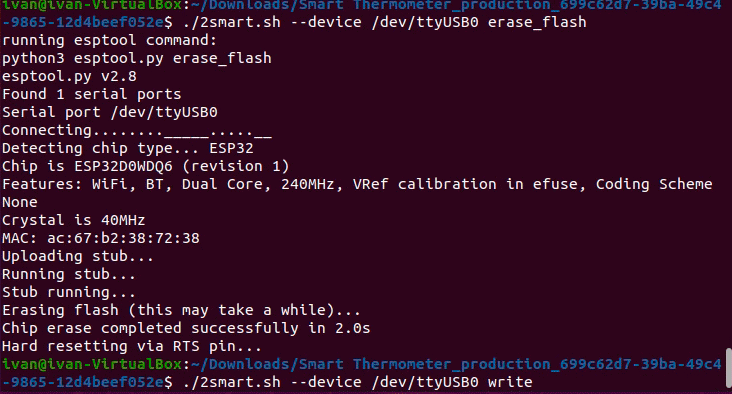
Clean up the microcontroller memory by running the following command:
./2smart.sh --device /dev/ttyUSB0 erase_flash

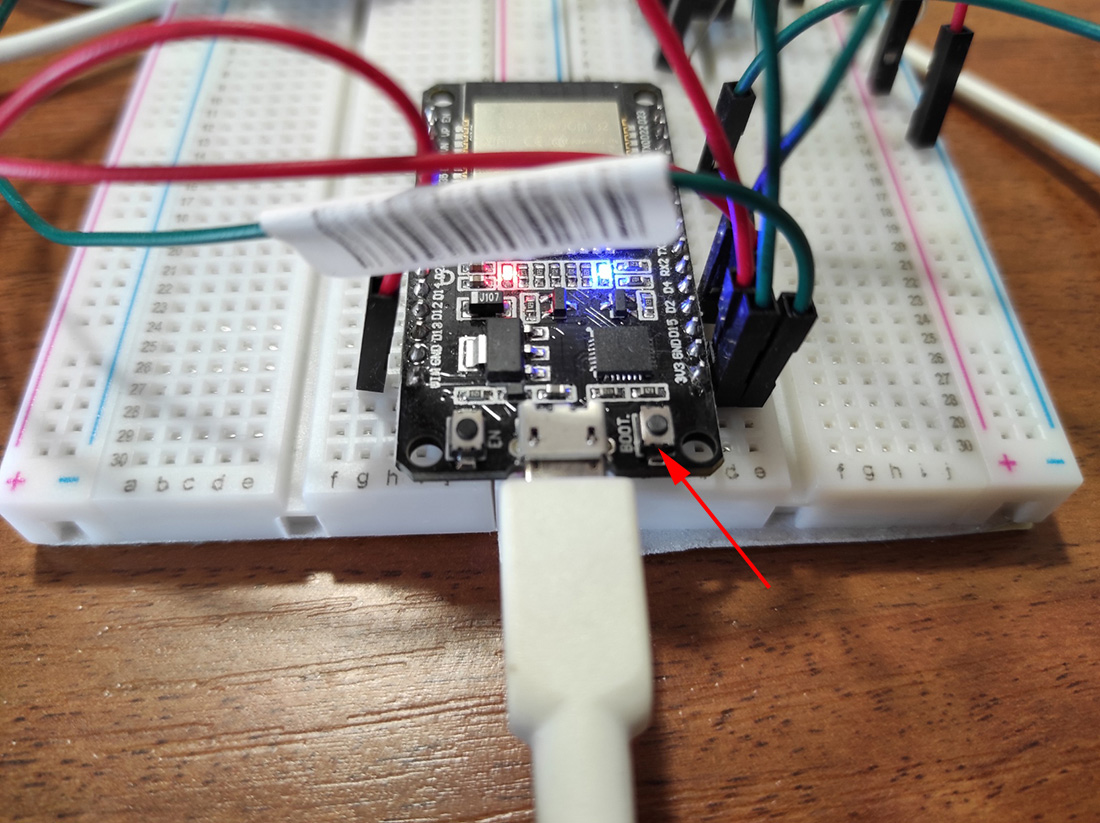
If the memory cleaning stops at the “Connecting ….….” step, press the Boot button on the DevKit board:
Run the “2smart.sh” script to flash the microcontroller:
./2smart.sh --device /dev/ttyUSB0 write
If the flashing stops at the “Connecting ….….” step, press the Boot button on the DevKit board.
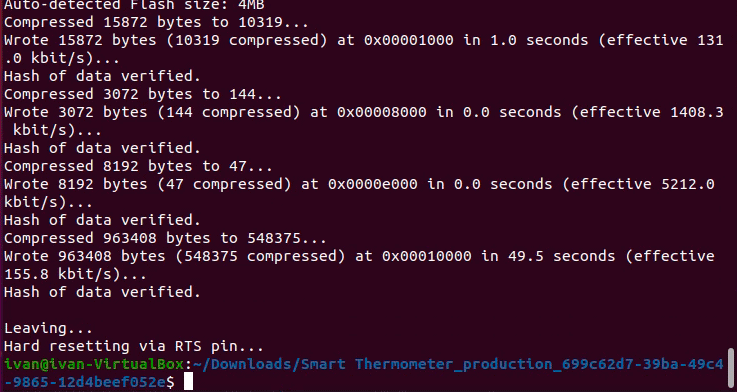
After a successful flash, you will see the “Leaving… Hard resetting via RTS pin…” notification.
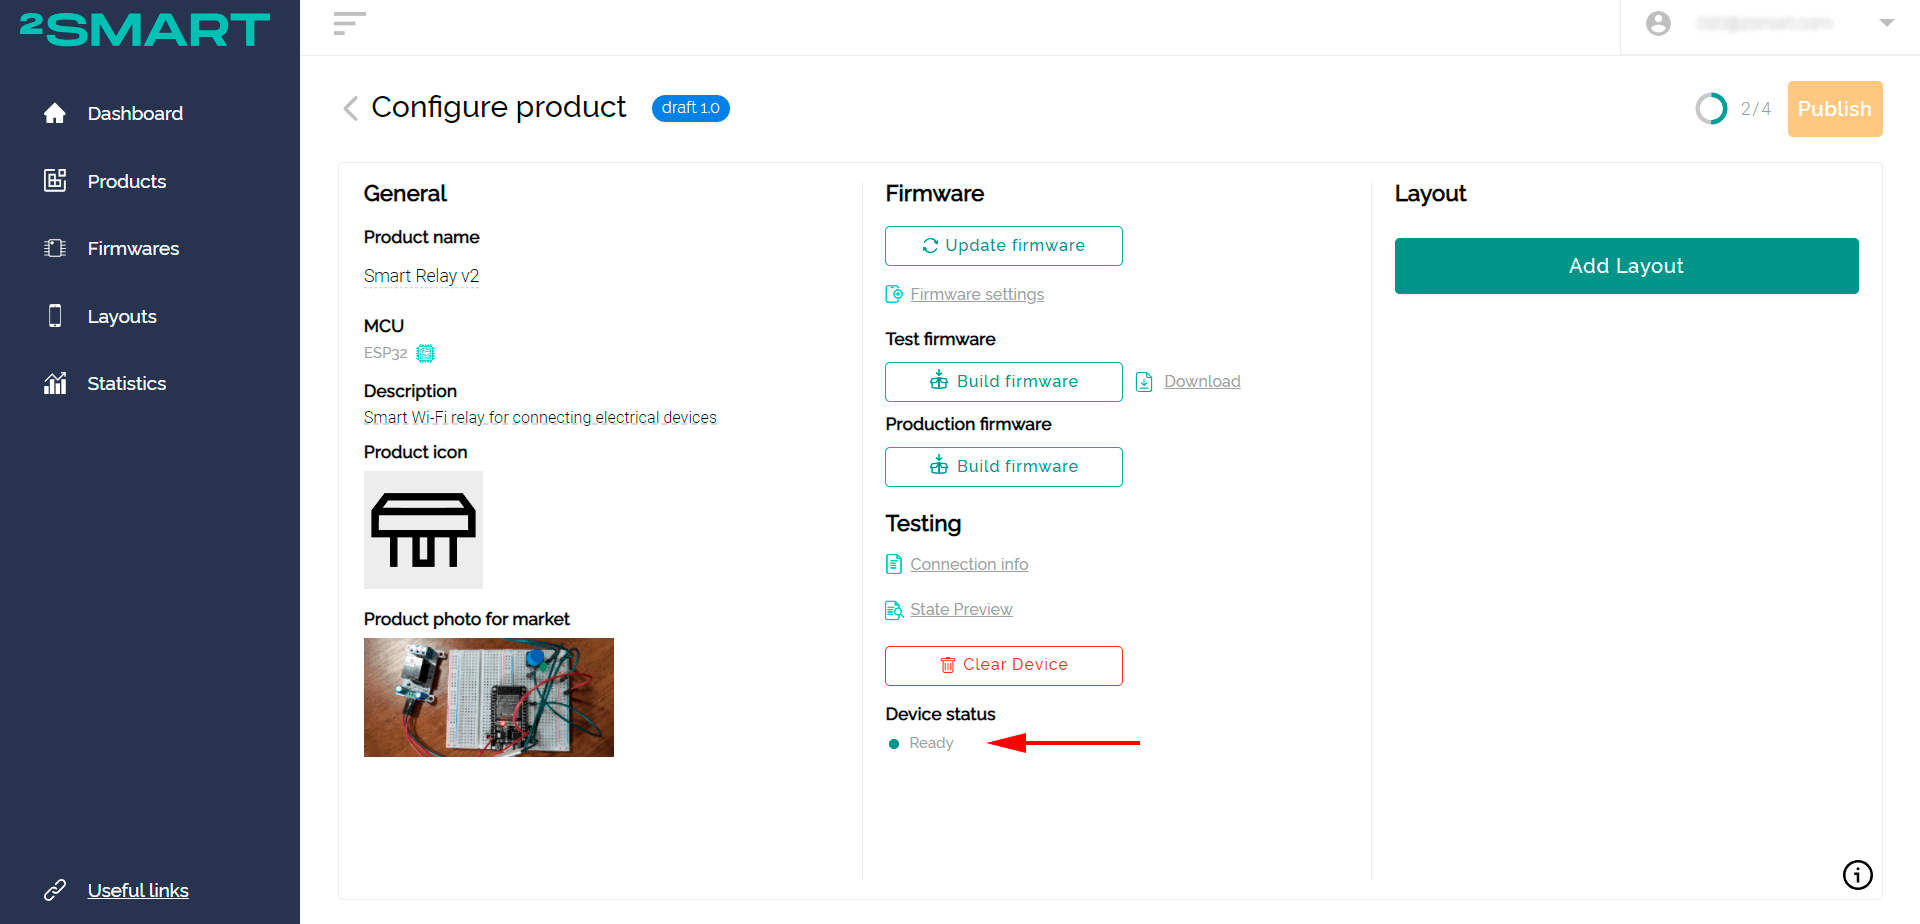
After flashing is completed, return to your 2Smart Cloud account and wait until the device is detected by the platform. If this does not happen within one to two minutes, unplug your device and plug it back in the PC.
The device's "Ready" status indicates that the prototype has been successfully connected to the platform.
Flashing a device with Docker
Install the appropriate Docker Engine for your system. All versions can be found on the developer's website.
Check if you already have Docker installed. Run the following command:
docker -v
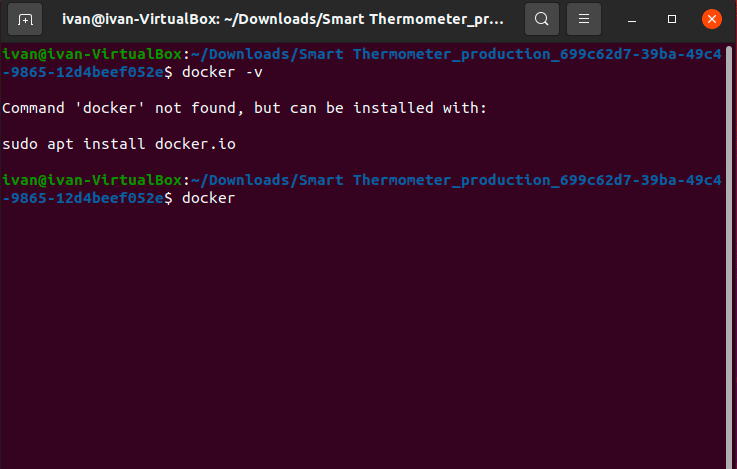
You can also install Docker from the ubuntu repository with the following command:
sudo apt install docker.io
Unzip the firmware file and navigate to the directory containing the archive's contents in the terminal.
Connect the microcontroller to the PC utilizing a USB cable. Enter the following command in the terminal and hit Tab:
/dev/ttyUSB0
This step is required to verify that the microcontroller is connected to the USB port.
Please note that you may be utilizing the ttyUSB1 port rather than the ttyUSB0 port, for example. Bear this in mind as you proceed through the current and next steps.
Set the permissions to the USB port by running the command:
sudo chown $USER:$USER /dev/ttyUSB0
Use the following command to make the user Docker accessible:
sudo usermod -aG docker $USER
After adding the user to the Docker group, log out and log back in for the changes to take effect.
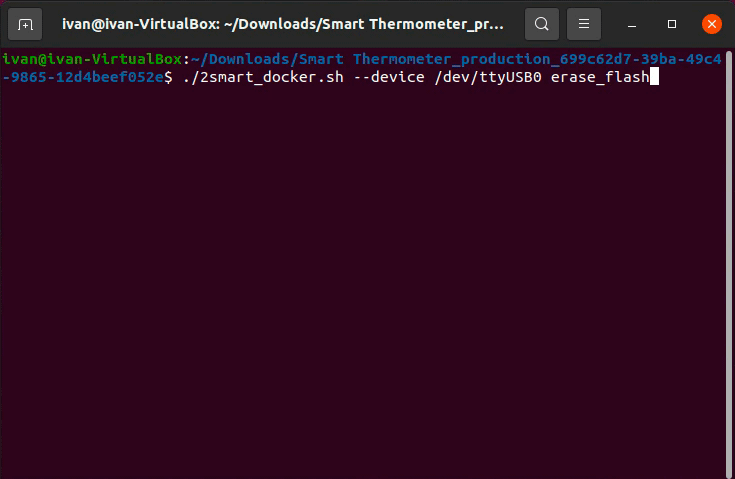
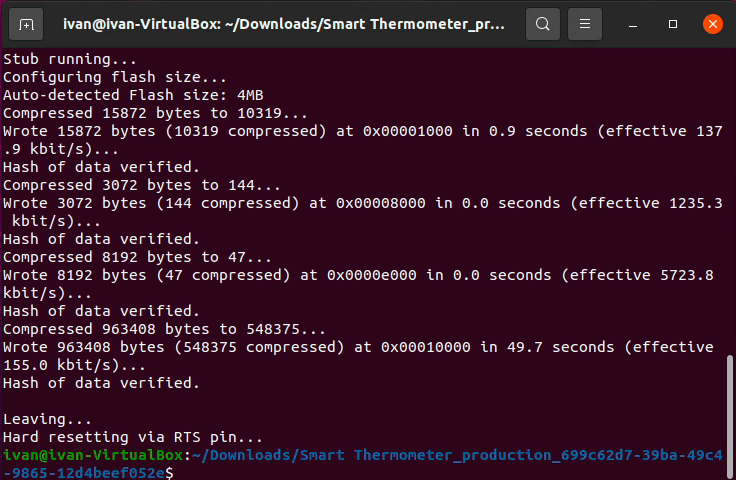
Clean up the microcontroller memory. If the esptool images have not been downloaded, they will be downloaded automatically. Run the following command:
./2smart_docker.sh --device /dev/ttyUSB0 erase_flash
If the memory cleaning stops at the “Connecting ….….” step, press the Boot button on the DevKit board:
Run the “2smart_docker.sh” script to flash the microcontroller.
./2smart_docker.sh --device /dev/ttyUSB0 write
If flashing stops at the “Connecting ….….” step, press the Boot button on the DevKit board.

After a successful flash, you will see the “Leaving… Hard resetting via RTS pin…” notification.
After flashing is completed, return to your 2Smart Cloud account and wait until the device is detected by the platform. If this does not happen within one to two minutes, unplug your device and plug it back in the PC. The device's "Ready" status indicates that the prototype has been successfully connected to the platform.
When getting confirmation that your connection to the prototype platform with test firmware was successful, you can continue working on your product. A similar approach is used to install the production firmware on finished devices.