Installing ESPHome based firmware with a Windows PC
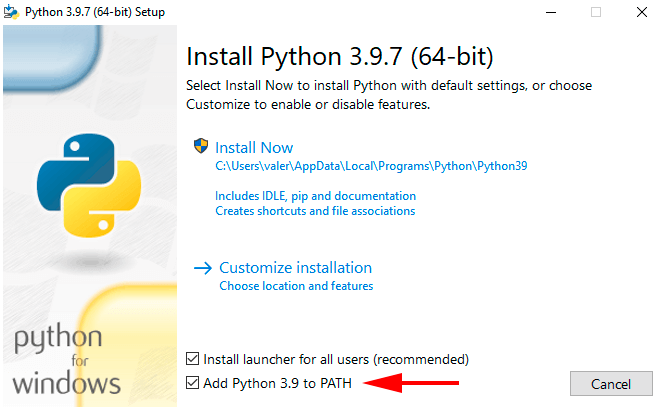
To flash a smart device from a Windows PC, you'll need to first install the most recent version of Python, which you can get from the developer's website.
Remember to check the "Add Python.exe to PATH" box when installing Python.
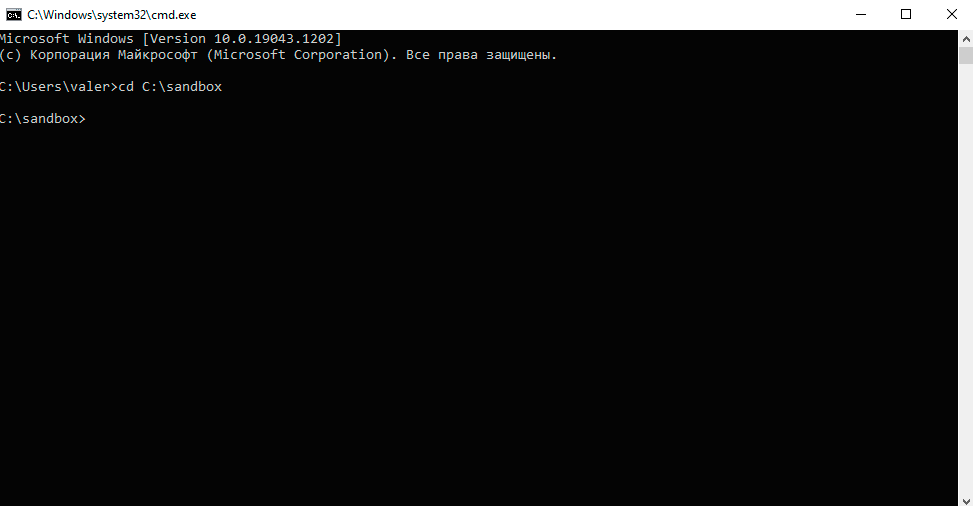
Open the Windows command line interpreter by pressing Win + R and typing the command "cmd" into the appearing window.


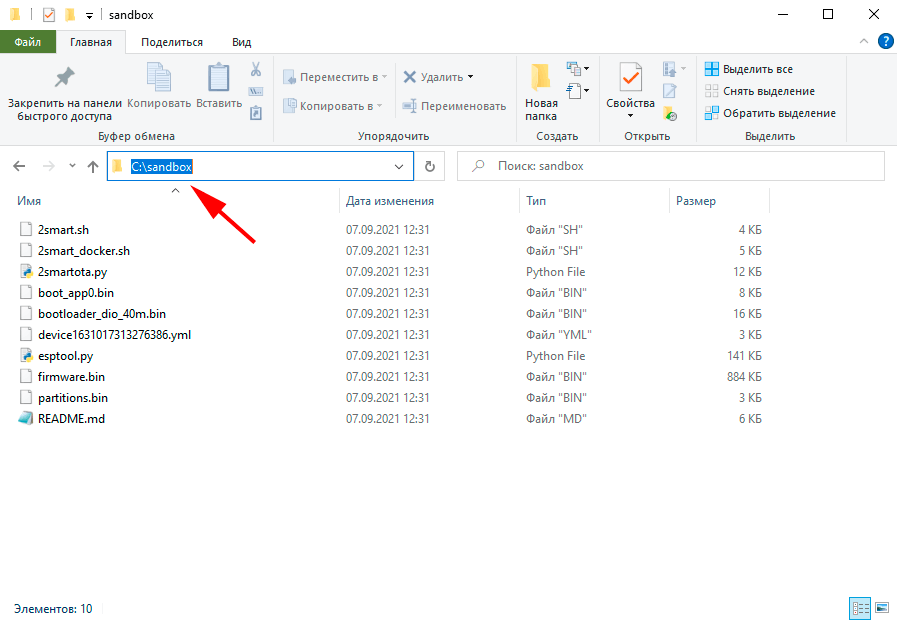
Unzip the firmware that was downloaded to your 2Smart Cloud account. Copy the path from the address bar to the folder with the archive's contents.
Enter the command "cd" in the command line interpreter, copy the path to the firmware folder (right mouse button or keyboard shortcuts Shift + Insert / Ctrl + V), and press Enter. The interpreter will go to the firmware folder.
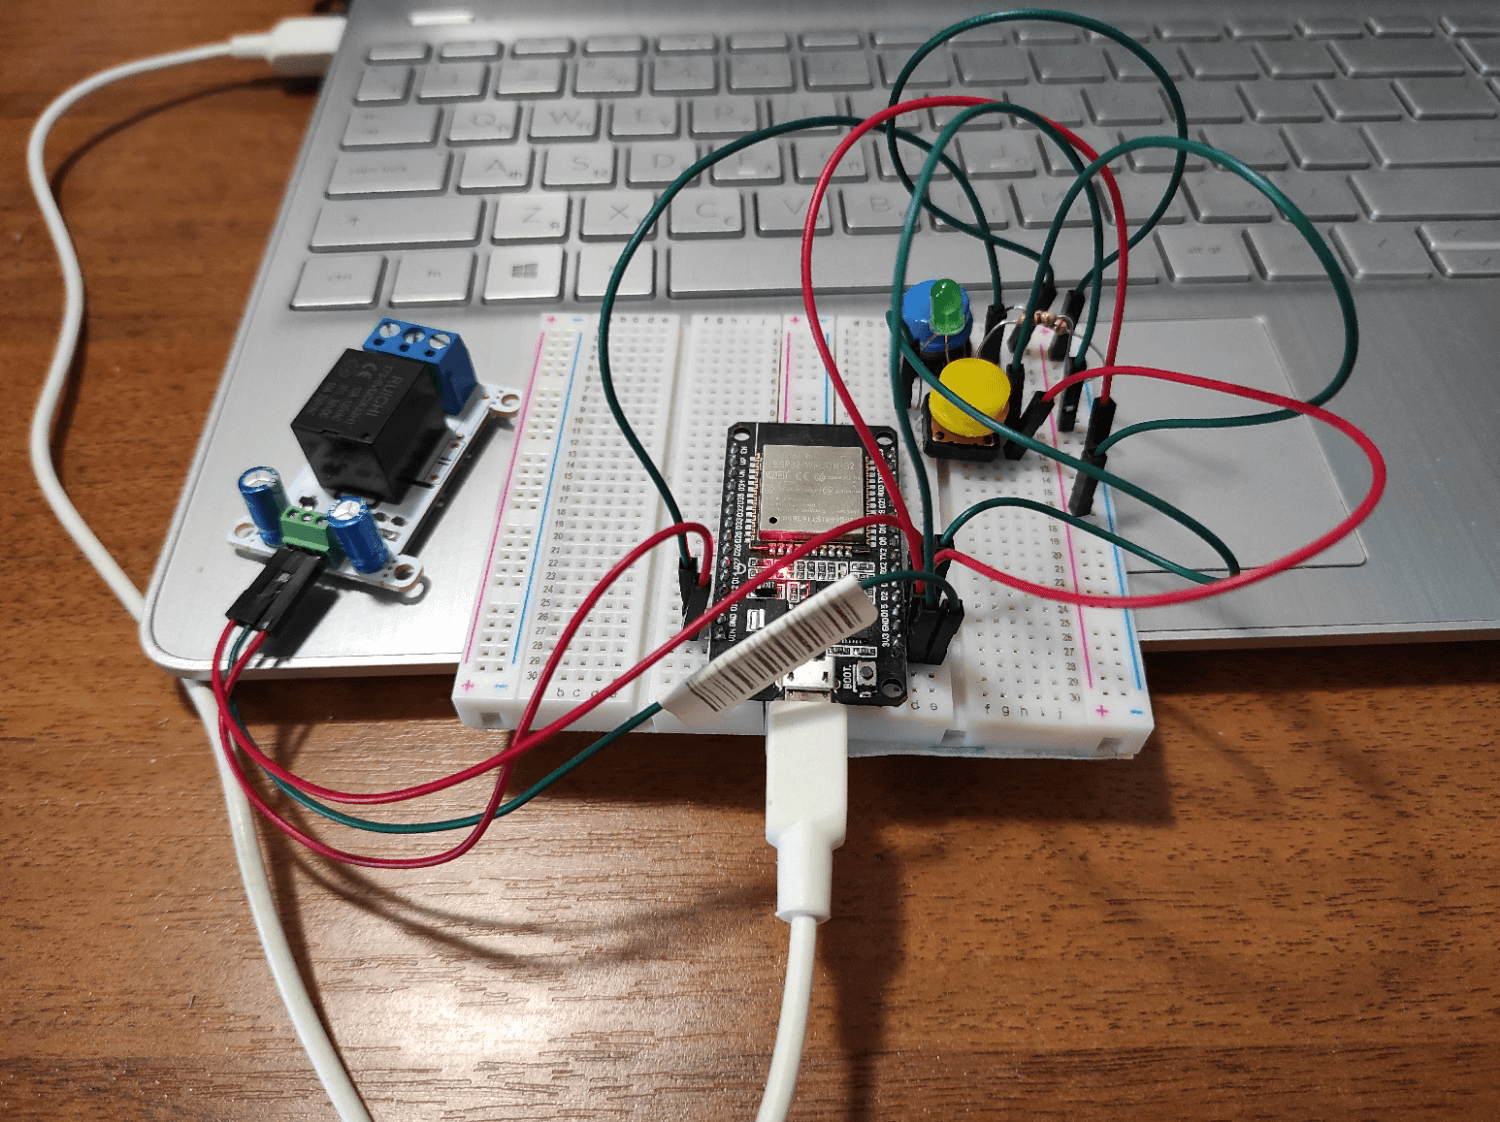
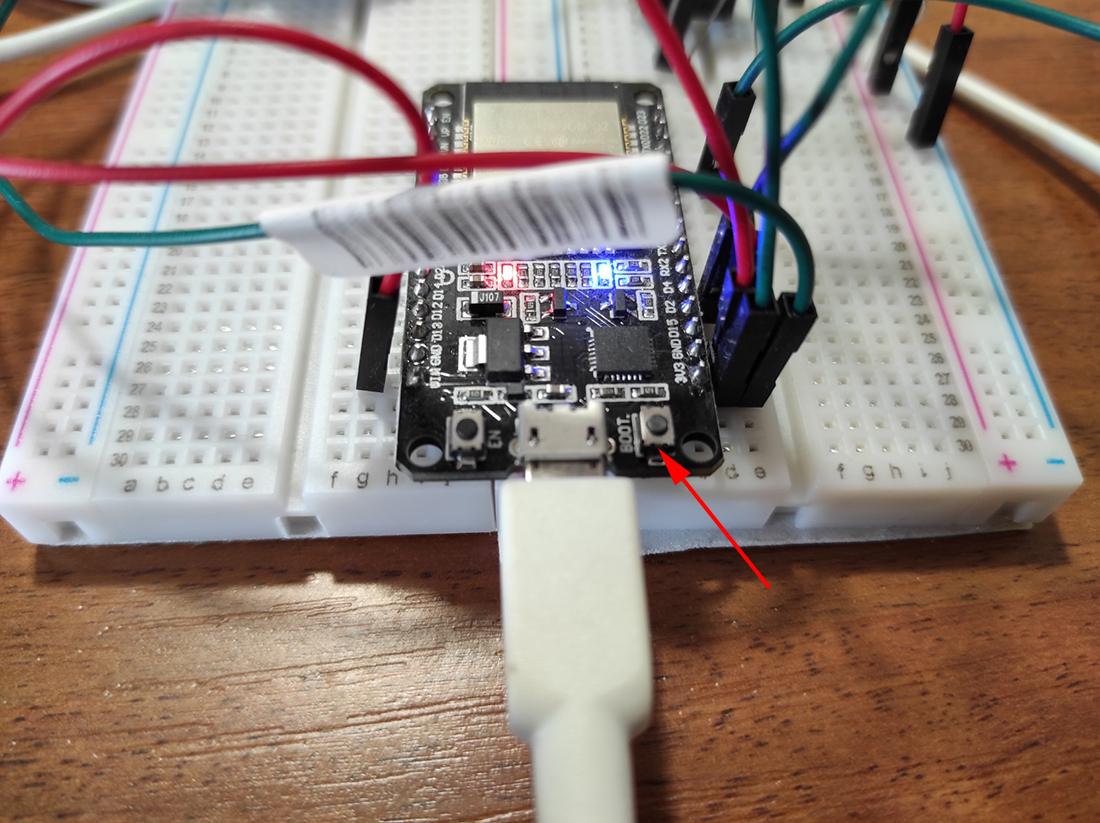
Connect your smart device to a free USB port on your PC or power supply using a USB-micro USB cable.
Paste the following command into the command line interpreter window:
pip install esptool
Press Enter.

Paste the following after executing the command:
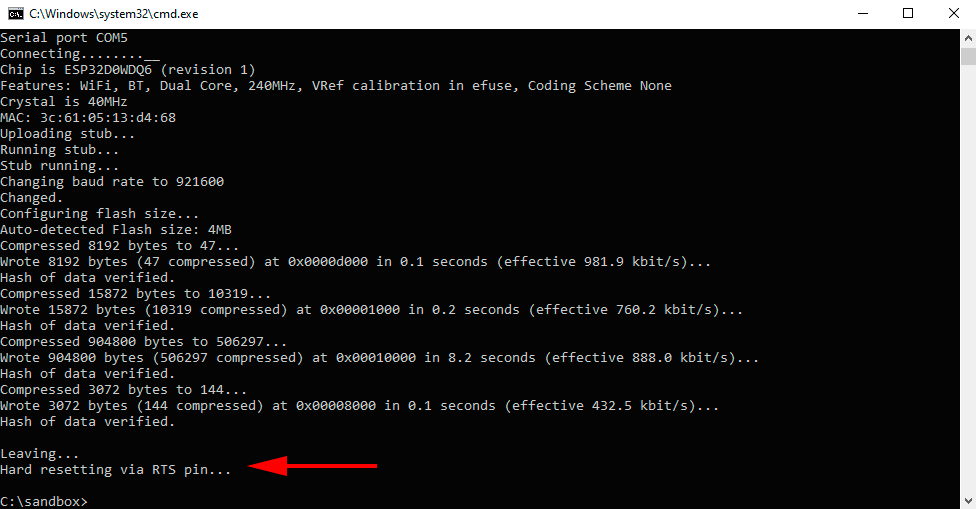
esptool.py --chip esp32 --baud 921600 --before default_reset --after hard_reset write_flash -z --flash_mode dio --flash_freq 40m --flash_size detect 0xd000 boot_app0.bin 0x1000 bootloader_dio_40m.bin 0x10000 firmware.bin 0x8000 partitions.bin
Press Enter.
If the flashing process does not start, press the Boot button located next to the micro-USB port on the DevKit body.
After a successful flash, you will see the “Leaving… Hard resetting via RTS pin…” notification.
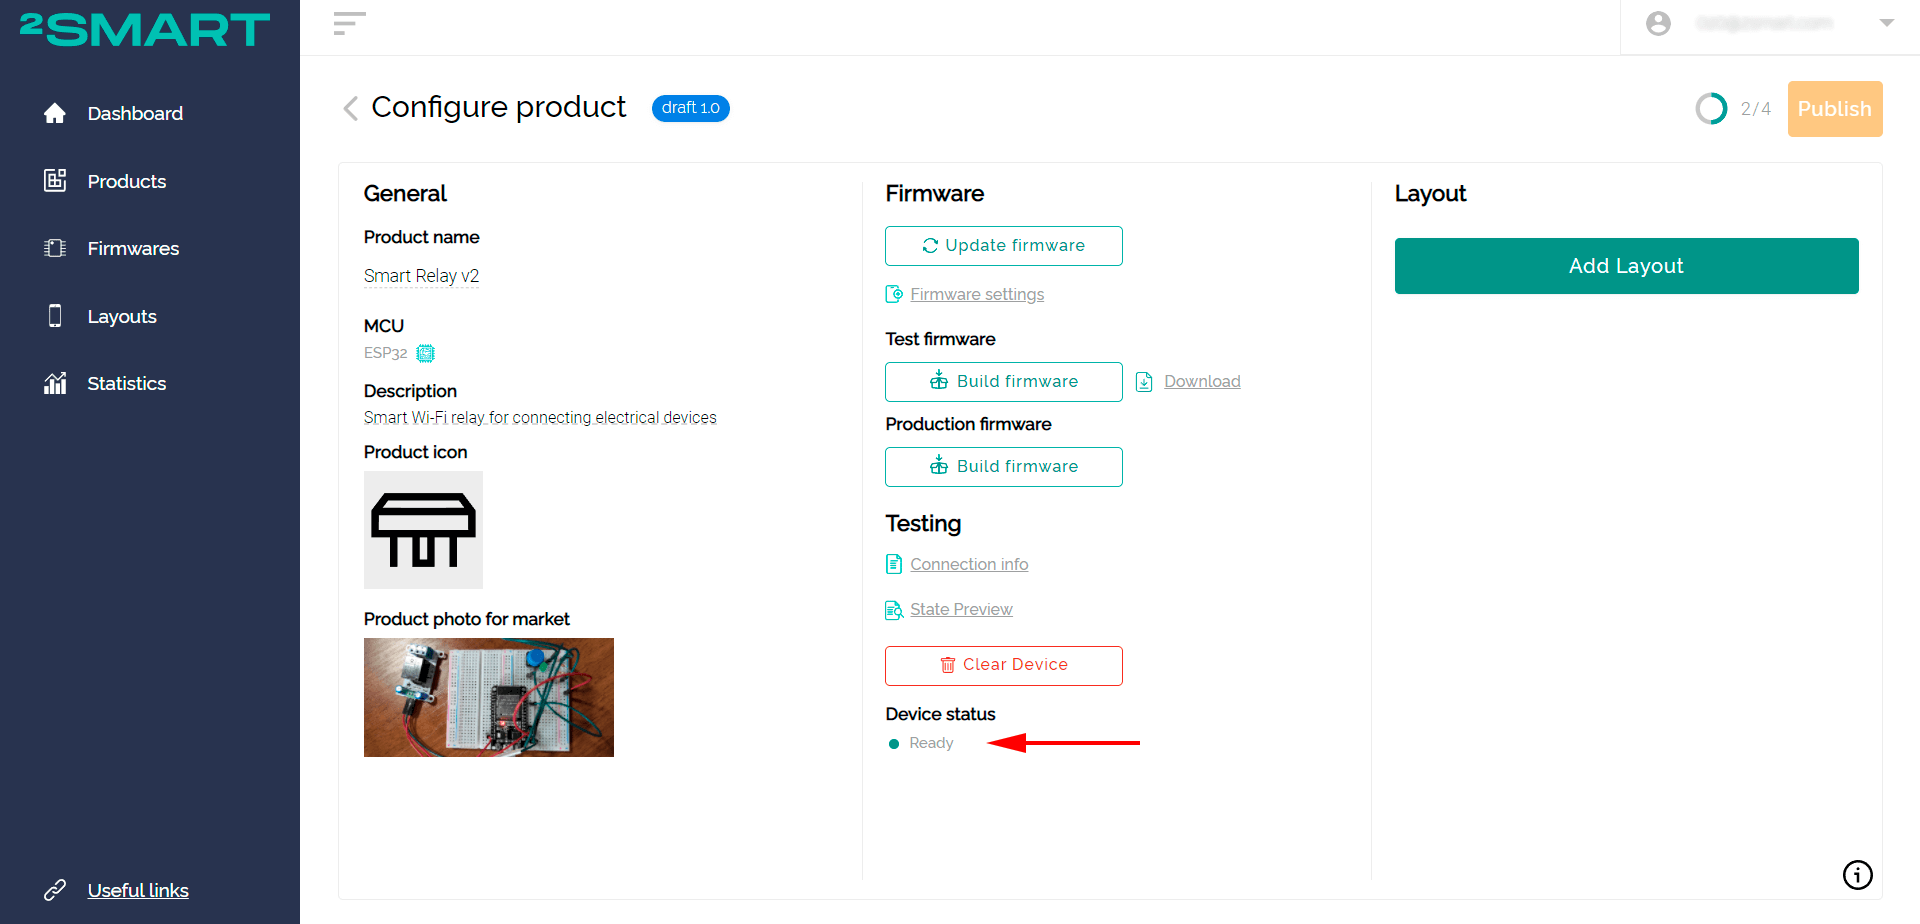
Return to your 2Smart Cloud account and wait until the device is detected by the platform. If this does not happen within one to two minutes, unplug your device and plug it back to the PC. The device's "Ready" status indicates that the prototype has successfully connected to the 2Smart Cloud test environment.
After getting confirmation that the prototype with test firmware has been successfully connected to the platform, you can continue working on your product. A similar approach is used to install the production firmware version on finished devices.